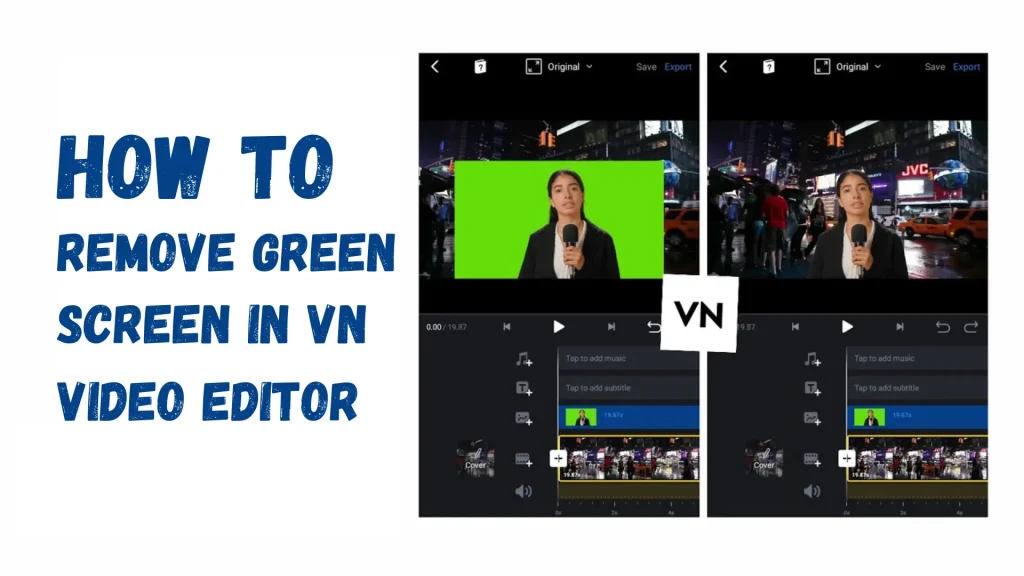
How to Remove Green Screen in VN Video Editor
In the world of video content creation, the green screen technique has revolutionized video editing, allowing users to replace the background and engage the audience. It essentially establishes a virtual environment for your videos, allowing you to replace the background with any image. Are you wondering about how to remove green screen in VN Video Editor? Let’s look at a detailed method for customizing video backgrounds while maintaining the best quality possible.

So, VN MOD APK is a versatile and user-friendly editing platform that simplifies the process of removing green screens from videos. It contains a powerful chroma keying feature that is used to remove the background effortlessly. We’ll deep dive into the details of how to use the chroma key feature?
What is Green Screen or Chroma Keying?
Chroma Key, also known as Green Screen, is an impressive tool for creating eye-catching videos with dynamic backgrounds and effects. It is a visual effects technique to remove the background from your video with ease and replace the background with a different image or video. It is commonly used in films, production, educational, and social media content creation videos. If you are looking for a beautiful filters and effects you can check my article over here.
How to Remove Green Screen in VN Video Editor
First you need to install VN Video Editor on you device. It is also available on MAC, IOS and for PC, so you can easily make quality videos. Follow the instructions below to remove the green screen:
Step 1: Import Your Videos
First, Launch the VN Video Editor and create a new project. Then, import the green-screen video from the device storage. After that, simply drag and drop the video to the timeline for editing.
Step 2: Select the Chroma Key Effect
Next, Go to the Effects panel and choose the “Chroma Key” effect. It is specifically designed to remove green screens from the videos. Click the button to apply the chroma key effect to your video.
Step 3: Adjust the Chroma Key Settings
After applying the chroma key effect, you should further adjust the settings to completely remove the green screen. Click on the chroma key layer and go to the menu settings. Here, you can change the hue color key, tolerance, and other parameters.
Step 4: Refine Key Color
The essential tool is to choose the specific green shade you need to remove from the video. You can use a color picker tool to get a green color from the video clip.
Step 5: Refine Edge Feathering.
It is used to create a smooth transition between your image and the background, giving the video a professional appearance. Increasing this value softens the edges and blends your image or video into the scene. You can try different values until you find the best result that feels just right.
Step 6: Preview and Export your Video
Adjust the Chroma Key settings and preview the video clip to check whether the green screen has successfully been removed. If adjustments are needed, experiment with the saturation and tolerance; otherwise, just choose the desired export setting and save your video.
Key Pre-editing Factors
Background Selection: Choose an image or video to replace the green screen in the video. Consider the visual appeal, the significance of your content, and the whole effect of the finished video.
Lighting Requirements: Lighting is the most important aspect of a video. When shooting the subject against a green screen, you should use proper lighting. Lighting with no shadows and inconsistent colors will make it easier to remove the green screen during editing. It helps to achieve a smooth integration of the subject and background.
Subject Distance: Ensure the subject keeps away from the green screen to prevent green light spillage and which simplify the keying process. This will help maintain neat edges and precise removal of the green screen.
Quality of green screen: Always use a top-quality green screen background to reduce creases, shadows, and other issues that can affect the chroma-keying procedure.
Adjust Camera Settings: If you want to achieve excellent quality images and consistent shade between subject and background, adjust camera settings like white balance, exposure, and focus.
Preview the footage: Frequently preview your video to monitor the process of green screen removal while making any changes that are needed along each step.
Bravo! By using these steps, you should be able to successfully remove the green screen from the video and achieve a professional looking video.
FAQs – Frequently Asked Questions
Conclusion
In this article we talked about How to Remove Green Screen in VN Video Editor that leads to a professional quality video. It helps you to replace the backgrounds and gives an aesthetic look to the videos. This guide helps you to remove the green screen in VN Video Editor with ease.


![How to Add Text in VN Video Editor [Step-by-Step Guide] 4 How to add text in vn video editor Banner](https://vnapkeditor.com/wp-content/uploads/2024/03/How-to-Add-Text-in-VN-Video-Editor-Banner-768x432.webp)


